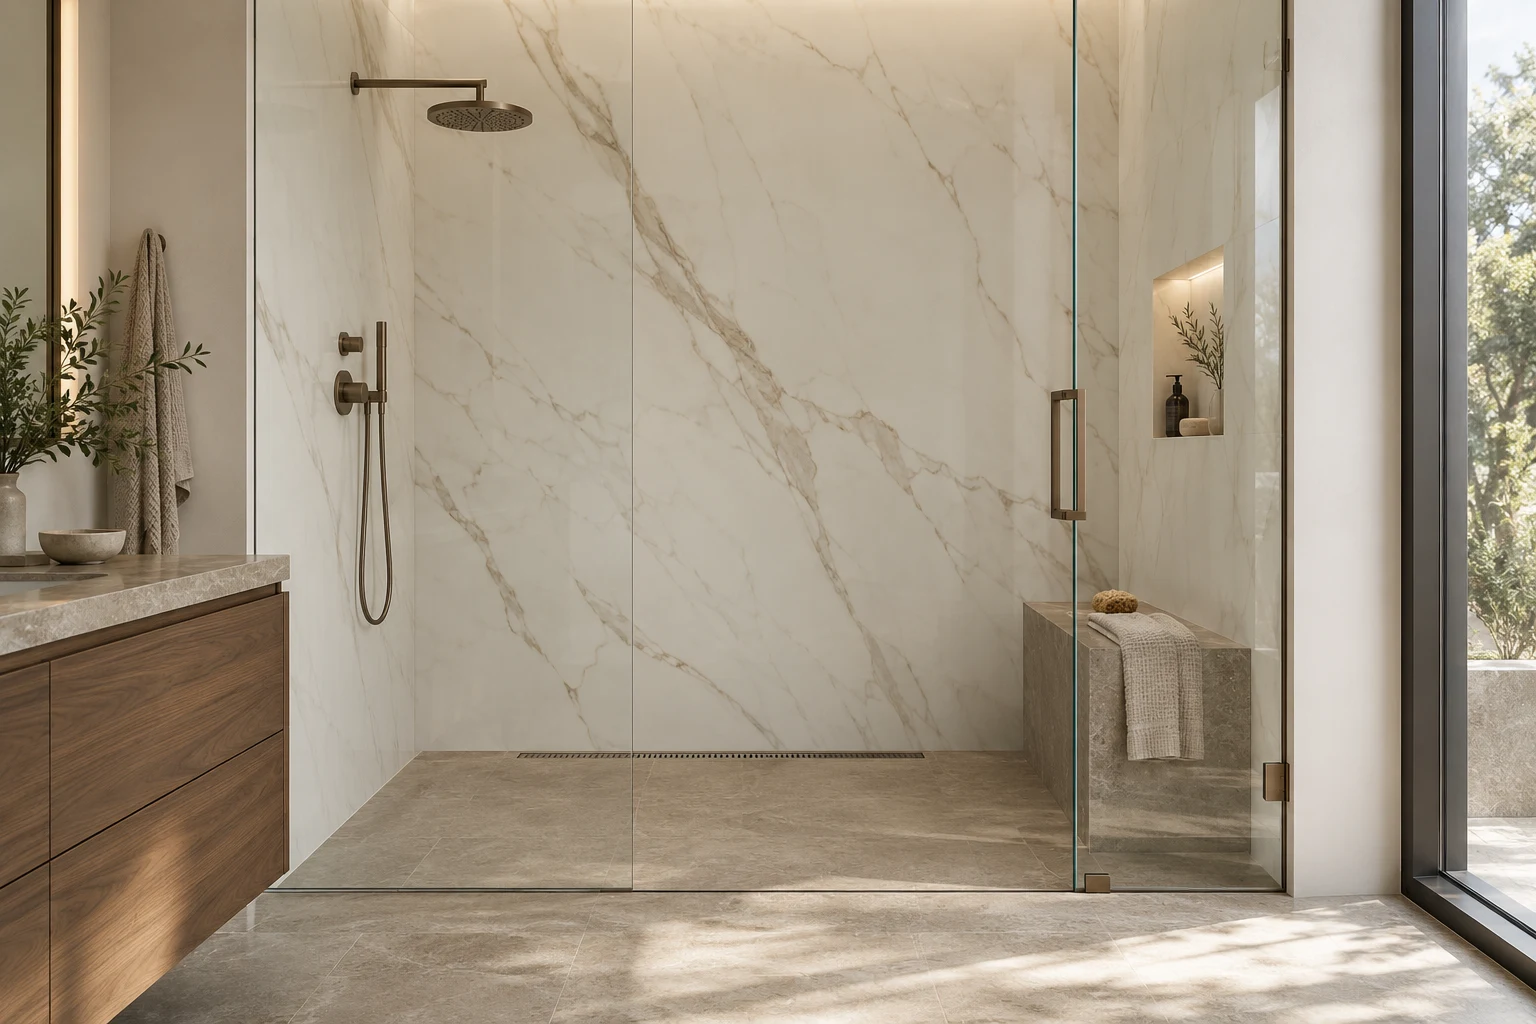
A porcelain slab shower uses full-size panels, often close to 5 by 10 feet, to cover each shower wall from the pan or floor to the ceiling or a planned stopping height. Done well, each wall reads as one continuous surface. A layout that fits one panel per wall can keep joints at the inside corners; larger walls or access limits may require additional seams.
We install panel shower walls throughout the Kansas City metro. The project needs a panel layout, suitable wall assembly, planned cutouts and a clear access route. The written scope should assign wall preparation, waterproofing, demolition and related trades.
If full-size panels do not suit the access route, layout or budget, compare large format tile showers. They retain a visible tile layout with smaller individual pieces.
How a panel shower differs from a tiled shower
The appeal is obvious: fewer joints, uninterrupted veining, and a surface that is easy to wipe down. The tradeoffs are less obvious.
| Tiled shower (including 24×48 tile) | Full-size panel shower | |
|---|---|---|
| Joints on a typical wall | Many grout joints in both directions | Potentially no field joint on a wall that fits one panel; corners and wider walls still have joints |
| Ordering | By the square foot, plus an overage | By whole panel, counted from a cut plan |
| Wall flatness | Published tolerance for tile with an edge 15 in. or longer: 1/8 in. in 10 ft and 1/16 in. in 24 in. | Same published tolerance for gauged panels; one rigid sheet spans the whole wall, so there's no room to adjust piece by piece |
| Crew and handling | Depends on tile size and site conditions | At least two installers per manufacturer guides; some call for three or four on a full-size panel |
| Fixing a damaged piece later | Replace a tile | Replace a panel, if matching material can be found |
| Shower floor | Smaller tile can follow the required slope; larger tile needs an appropriate cut and drain layout | A large panel does not readily follow a sloped floor; floors often use a linear drain or a different floor material |
Read the full comparison, including when conventional tile is the better choice, in our large format tile installation guide.
Layout: deciding where the seams and veins go
Layout is where a panel shower succeeds or fails. Before material is cut, each wall layout should answer these questions:
- Do the walls fit the panel's actual size? Panel sizes are sold by nominal dimensions. A Stonepeak panel sold as 60 × 120 inches actually measures 59.06 × 118.19 inches. A measured 60-inch finished opening cannot be covered by that panel in one piece. Resolve it with a wider product or a planned seam; do not count on unmeasured wall build-up.
- Which walls get full panels? A side wall that is 36 inches deep can usually come out of one panel, but the 23-inch offcut beside it may not be useful anywhere else. Panels are counted from the drawing, not from square footage.
- Where do the seams land? Inside corners are natural seam locations. When a wall is wider than one panel, place the seam deliberately: centered, aligned with the valve, or coordinated with the pattern.
- How does the vein read? Marble-look panels have a direction. Decide whether veins run vertically or horizontally and whether they continue around corners. Bookmatched products have product-specific tolerances; confirm the selected collection's matching limits.
- What's the stopping height? Full height to the ceiling or a set height with a finished top edge changes the panel count and edge detail.
You'll find a worked example with real panel dimensions, showing the fit problem and the difference between wall and panel area, in the installation guide's layout section.
Waterproofing: the layer behind the panels
Porcelain panels are not what makes a shower waterproof. Schluter's shower-system guidance explains that tile and grout joints need a separate waterproofing system. That's just as true for a 5-by-10 panel as for a mosaic.
The water barrier is a membrane or a waterproof board system behind the panels and below the floor. These products are typically tested to ANSI A118.10. Examples include liquid-applied membranes such as LATICRETE HYDRO BAN and MAPEI Mapelastic AquaDefense, and sheet or board systems such as Schluter KERDI. Each one has its own rules for seams, corners, drains, niches and the flood test that should happen before any panel goes on.
What that means for your project:
- Waterproofing responsibility should be named in the scope. Sometimes the panel installer provides the membrane system. Sometimes a remodeler or another trade builds it. Either way, the proposal should say who owns it and which system is used.
- The membrane must be compatible with the panel mortar. Setting-material manufacturers publish which of their mortars can go over which membranes. The proposed combination should be supported by the manufacturers' documents.
- Existing walls need an honest look. Setting panels over an old tiled shower doesn't fix whatever is, or isn't, behind it. Manufacturer approvals for setting over existing tile are narrower in continuously wet areas. One setting-material maker limits its primer method to intermittently wet surfaces and asks installers to contact it about continuously wet ones.
A drawing showing the decorative panel face and the waterproofed assembly as separate layers is in our shower-wall assembly diagram.
Niches, benches, valves and corners
Every opening in a panel is a precise cut in a large, thin sheet. Manufacturer and setting-material guides call for drilled relief holes at the corners of interior cuts. Laminam, for example, specifies a hole of at least 5 mm radius at the inside corner of L-shaped cuts. This reduces the stress concentration at a sharp inside corner. That precision shapes the design:
- Niches can be wrapped in panel offcuts, lined with a contrasting material, or replaced with a recessed shelf or a ledge at a seam. Wrapping a niche means more cut edges to finish and more joints to seal. Confirm the niche-edge detail and how it relates to the back panel's vein before cutting.
- Benches add horizontal surfaces and exposed edges. Built-in benches need a waterproofed structure underneath. The bench top may call for a thicker material or a mitered edge.
- Valves, shower heads and body sprays are cut into the panel. Their locations should be final before cutting, because moving a valve later means a new panel.
- Inside corners get a flexible sealant joint rather than grout, as industry movement-joint guidance requires at changes of plane. Outside corners can be mitered, finished with a metal or PVC profile, or capped. Each choice looks different and has its own durability tradeoffs.
- Exposed edges where a panel ends, at a half-wall or the shower entry, need a finish detail. A factory edge, a polished cut edge and a trim profile all read differently.
Getting the panels to the bathroom
A full-size 6 mm Stonepeak panel weighs roughly 140 pounds, based on the manufacturer's published weight per square foot. Panels have to be carried on edge, supported along their length and protected at the corners. Setting-material guides call for at least two installers. One manufacturer's guide calls for a crew of three as a minimum.
For an upstairs bathroom, that means checking the stairs, landings, door openings and the room itself before ordering. Our access-readiness checklist walks through it. If full-size panels won't make the trip, the options are smaller panels (several lines come in 30 × 60-inch or 1000 × 3000-mm formats) or a layout with planned seams.
What a panel shower scope should spell out
Ask for each of these to be addressed in writing, whoever installs your shower:
- Panel supply: who buys it, who receives it, and who carries the risk if a panel arrives damaged
- Number of panels and the layout they're based on
- Demolition and disposal of the existing shower
- Wall preparation and flattening
- Waterproofing system and who installs it; flood test
- Shower floor material and drain type
- Cutouts: valves, heads, niches, benches, grab-bar blocking
- Edge and corner details
- Sealant type at corners and changes of plane
- Plumbing, glass enclosure and electrical (usually separate trades)
- Protection of the home during handling and cleanup
The cost and planning guide explains how each item affects the price.
Questions about panel showers
Can panels go on the shower floor too? Sometimes, but it's a separate decision. A large panel doesn't easily follow the slope a floor needs to drain. One setting-material guide notes that panel sizes don't accommodate slope-to-drain and points to linear drains for panel shower floors. Many panel showers use a different floor material that coordinates with the walls.
Will I see seams? Yes, where the panels meet and at inside corners. With planning they're placed where they make sense, kept narrow, and coordinated with the pattern. If you need truly continuous veining across a seam, ask about bookmatched products. Even then, read the manufacturer's stated tolerance.
How do I clean a panel shower? Follow the selected panel and sealant manufacturers' care instructions; neutral cleaners are commonly recommended. Abrasives and unsuitable acids can damage finishes. The silicone joints at corners need more attention than the panel faces. They get re-sealed over time.
Does a polished panel scratch? Porcelain resists everyday wear well, but manufacturers don't claim it is scratch-proof. Stonepeak's warranty says it does not warrant that products will not scratch, chip or wear. Laminam notes its polished finish is less resistant to surface scratches than its standard finishes.
I already bought panels. Can you install them? Possibly. Tell us the brand, product, size, thickness, quantity and where the material is stored. Suitability, condition and quantity need review against the manufacturer's installation documents and the proposed layout.
Which panel brand works best in a shower? There is no single best brand. Laminam's cladding guide includes shower waterproofing instructions, and Stonepeak lists shower walls among Plane 2.0's applications. Check the documentation for the exact product. The material selection guide compares sizes, thicknesses and documentation for Infinity, Laminam and Stonepeak.
Planning a feature wall or fireplace as well?
Projects often pair a panel shower with a vanity wall or a fireplace elsewhere in the home. See porcelain feature walls, or, if you're a designer or builder, our trade project information.