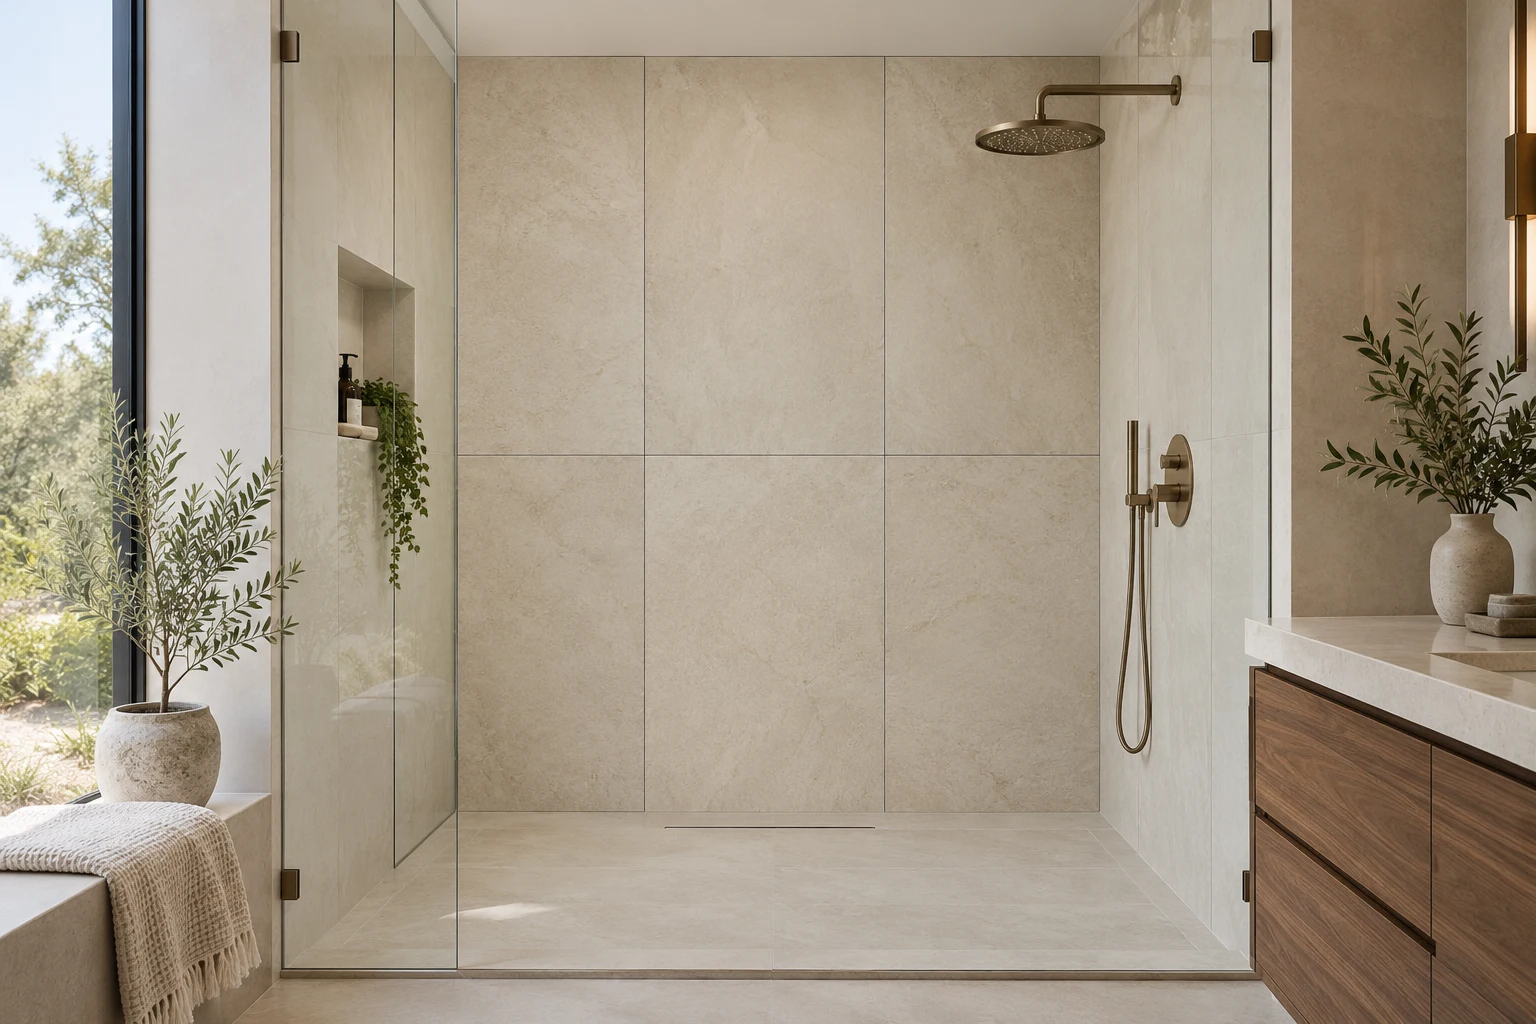
A large format tile shower uses pieces such as 12×24, 24×48 or 48×48 porcelain to create broad wall surfaces with fewer grout joints. The practical large-format threshold is an edge of at least 15 inches, where substrate flatness requirements tighten. The best size for your shower depends on the actual wall measurements, the desired pattern and the openings for fixtures.
We install large format tile shower walls across the Kansas City metro. The project scope should name the tile installation, preparation, waterproofing and any related plumbing, glass, electrical or demolition work. Include an alcove, walk-in or curbless design with your inquiry so the complete assembly and trade responsibilities can be reviewed.
Choosing the tile size and layout
Example layouts on a 60×96-inch wall
These are simple grid positions using nominal sizes, not minimum purchase quantities or finished layout drawings. Joint widths, actual dimensions, trim and reuse of offcuts change the order.
| Tile size | Nominal area per whole tile | Example grid | What to check |
|---|---|---|---|
| 12×24 | 2 sq ft | 5 columns × 4 rows, set vertically | Actual sizes and joints may change perimeter cuts |
| 24×48 | 8 sq ft | 3 columns × 2 rows, with cuts | Six positions need not mean six whole purchased tiles if usable offcuts can be reused |
| 48×48 | 16 sq ft | 2 columns × 2 rows, with cuts | Four positions do not establish four whole tiles as the minimum order |
| Full-size panel | Product-specific | Depends on usable width and height | A 59.06-inch panel cannot cover a measured 60-inch-wide wall in one piece |
A 60×96-inch wall has 40 square feet of area. Dividing by nominal tile area gives only an area minimum. Draw the cuts before deciding how many pieces or boxes to buy. For the full-size option, see porcelain slab showers.
Stack, brick or vertical
- Stacked grid: joints align in both directions. Compare a centered tile with a centered joint to see which leaves better edge cuts.
- Running bond: CTEF's explanation of the ANSI rule uses the side being offset: when it is over 15 inches, use no more than 33% offset unless the tile manufacturer specifies otherwise. Greater offsets need the applicable approval and mockup process. Tile curvature can become conspicuous at a half-tile offset.
- Vertical or horizontal: a nominal 24×48 tile oriented vertically gives two 48-inch rows over an 8-foot wall before joints and cuts; horizontal orientation gives four 24-inch rows. Compare both using actual measurements.
Where the joints fall
A useful wall elevation shows whether joints align with the valve, niche, adjacent wall and ceiling. It also shows narrow perimeter cuts before material is ordered. A niche can align with the grid, but its waterproofing, framing and usable opening must work as well.
Flat walls and mortar contact
For tile with any edge at least 15 inches, the published substrate tolerance is 1/8 inch in 10 feet and 1/16 inch in 24 inches. Wall correction may involve framing, backing or an approved patching method; the proposal should identify what is needed and who provides it.
The Ceramic Tile Education Foundation's mortar-coverage guidance explains the 95% minimum coverage for conventional tile in wet areas, together with support at edges and corners. Coverage must be checked during setting. Back-buttering and a suitable trowel can help, but neither proves that the tile is properly embedded.
Read about flatness, level and plumb. Gauged panels have their own installation documents; do not transfer a conventional-tile method to a panel just because both are porcelain.
Waterproofing behind the tile
Tile and grout do not make the shower waterproof. A membrane or waterproof-board assembly must connect the walls, floor, drain, corners and penetrations. Schluter's shower-system guidance explains the need for waterproofing behind the finish.
A proposal should name the system, who installs it and the required testing before tile is set. Waterproofing and wall preparation are confirmed as individual scope items. The guide's shower-wall assembly diagram shows the finish and waterproofing separately.
Large tile on the shower floor
The floor must drain, so its slope geometry affects the tile layout. Schluter describes KERDI-LINE as allowing a single-plane slope that accommodates large format tile. The drain location and complete assembly still require a project-specific design.
Other approaches include smaller coordinating floor tile or large tile cut along changes in slope around a point drain. The selected tile and finish must be suitable for the wet floor. Review drainage, traction, waterproofing and floor-work availability before choosing the wall-and-floor combination.
For an adjoining bathroom floor, see large format tile floor requirements. Floor project availability is confirmed during review.
Niches, benches, valves and edges
- Niches: coordinate the finished opening with the grid, framing and waterproofing detail. A prefabricated niche may not match the selected tile module.
- Benches: identify the supported, waterproofed structure and the top and edge material.
- Valves and heads: finalize positions before cutting and confirm trim coverage around penetrations.
- Changes of plane: specify movement joints and compatible flexible sealant at inside corners and wall-to-floor transitions.
- Exposed edges: compare a trim profile, miter or suitable finished tile edge before ordering.
What the shower scope should spell out
- Product, actual size, finish and quantity, including agreed overage and spare stock
- Orientation, pattern, joint widths and cut layout
- Demolition and disposal, if needed
- Wall correction and backing
- Waterproofing system, installer and testing
- Drain, slope method and shower-floor material
- Niches, benches, penetrations and edge details
- Plumbing, glass, electrical and other assigned work
Use the full quote-scope checklist and cost guide when comparing proposals.
Questions about large tile showers
Is large tile easier to clean? Fewer joints can reduce grout cleaning, but the finish, grout and corner sealant still need the care specified by their manufacturers. Follow the selected products' instructions.
Will large tile suit a small shower? It can. Compare the layout, rather than judging from a single sample: a small room with several openings may leave many narrow cuts. Size, lighting and pattern all affect the result.
Can it go over existing shower tile? Only after reviewing the existing bond, substrate, waterproofing, added thickness and the setting-material manufacturer's wet-area approval. Covering the finish does not correct an unknown or unsuitable assembly behind it.
Should I choose full porcelain slabs instead? Consider them when pattern continuity and very few joints matter, provided the actual panel dimensions and access route work. Compare slab showers with the tile-versus-panel table.
The large format tile installation guide covers the complete material, layout and preparation decisions.